Western Digital’s WD Black series of hard disk drives are known for their impressive performance and reliability. However, if you’re looking to upgrade your storage or replace a faulty component, you may encounter the challenge of removing the drive’s heatsink. This task may seem daunting at first, but with the right tools and instructions, you can safely and effectively remove the WD Black heatsink without damaging your device.

Image: mjdesign.cz
Tools and Materials:
Before you get started, gather the necessary tools:
- ESD-safe tweezers
- Mini Phillips screwdriver
- Soft, non-abrasive cloth
- WD Black drive with heatsink
Safety Precautions:
- Ensure that your workstation is equipped with an anti-static mat to prevent electrostatic discharge.
- Handle the hard drive carefully to avoid damaging its sensitive components.
- Do not apply excessive force during any step of the process.
Removing the Heatsink:
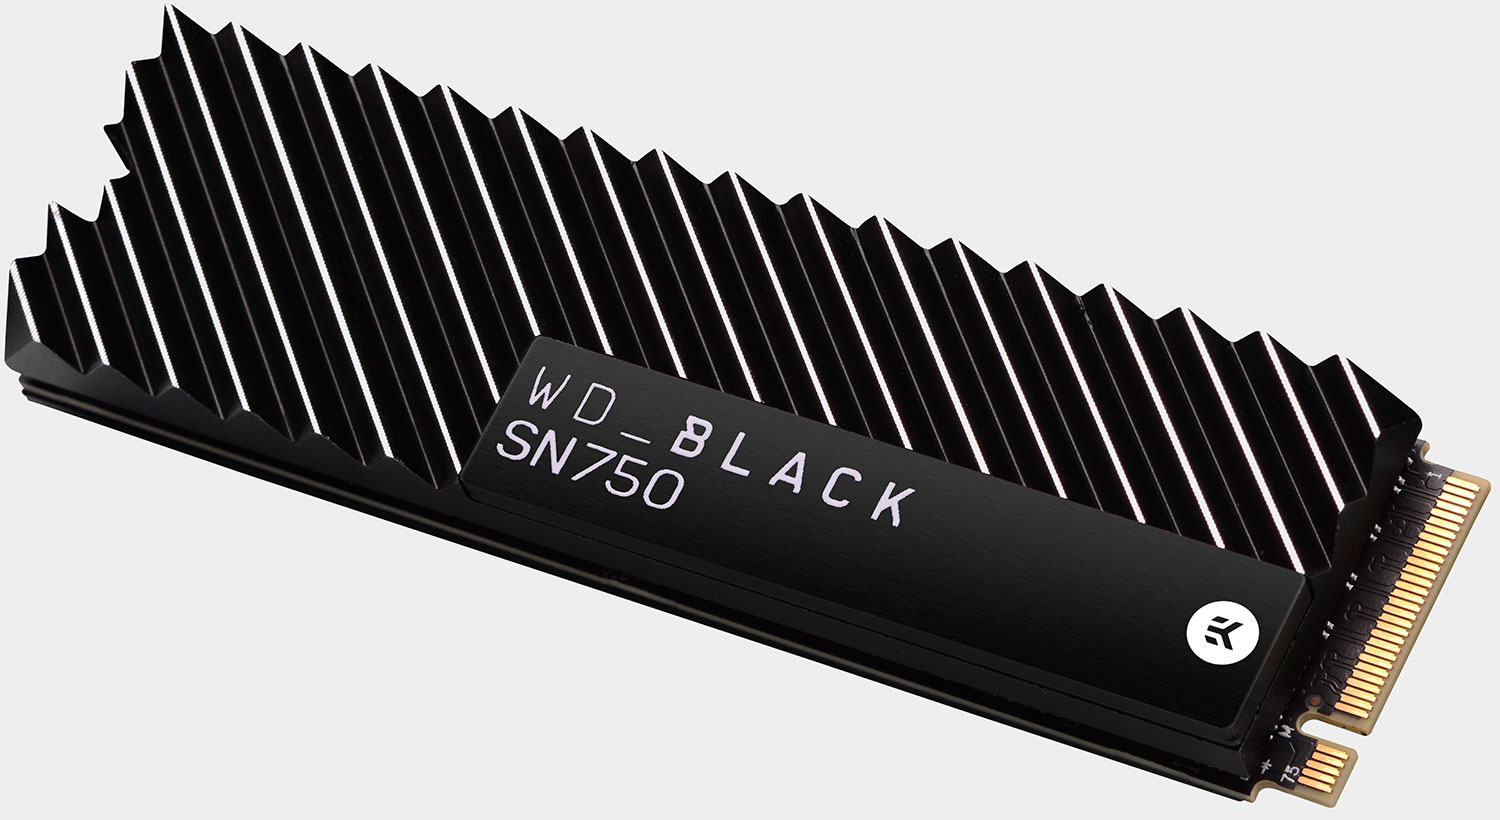
Image: www.pcgamer.com
1. Unplug the Drive:
Disconnect the WD Black drive from your computer to prevent any electrical hazards.
2. Locate the Screws:
Examine the WD Black drive and identify the screws securing the heatsink. Typically, there are four screws located around the edges of the heatsink.
3. Unscrew the Screws:
Using the mini Phillips screwdriver, carefully unscrew the screws. Be gentle to avoid stripping the screw heads.
4. Gently Lift the Heatsink:
Once all screws are removed, carefully lift the heatsink off the WD Black drive. Do not use excessive force, as the heatsink may be slightly adhered to the drive due to thermal paste.
5. Clean the Surfaces:
Using the soft, non-abrasive cloth, gently wipe away any thermal paste from the surface of the WD Black drive and the heatsink. This will ensure proper contact when reinstalling the heatsink.
How To Remove Wd Black Heatsink
Conclusion:
Congratulations! You have successfully removed the heatsink from your WD Black drive. Whether you’re upgrading your storage or replacing a component, this guide has provided you with the necessary steps to safely and effectively complete the task. Remember to perform these steps with care and enjoy the enhanced performance or renewed lifespan of your WD Black hard drive.
